Figured i better get painting something for the swap.  While i was at it, i cured off the rest of my odd-ball heads that had been hanging.
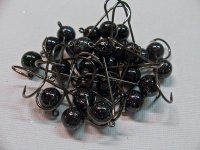
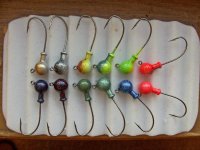
First pic is a few 1/4 heads for bass and walleye. The mold is supposed to have a triangle barb as well, but with leaving only the ball barb they work for either tying or plastics.
View attachment 5
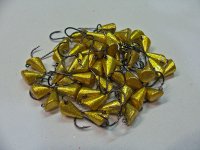
These are just some one offs that were painted between other projects.
View attachment 4
Can't forget the swap paints! Now i just have to tie them. :jig:
View attachment 3
While i was at it, i cured off the rest of my odd-ball heads that had been hanging.First pic is a few 1/4 heads for bass and walleye. The mold is supposed to have a triangle barb as well, but with leaving only the ball barb they work for either tying or plastics.
View attachment 5
These are just some one offs that were painted between other projects.
View attachment 4
Can't forget the swap paints! Now i just have to tie them. :jig:
View attachment 3
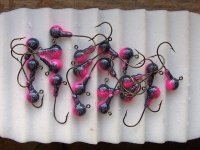

") The pink ones actually have a color on the top that is somewhere between black and purple. Is a mixture of candy purple, black, smoke and mica pearl powder with silver holographic glitter. The pink has a heavy mix of pearl powder in it as well.
The pink ones actually have a color on the top that is somewhere between black and purple. Is a mixture of candy purple, black, smoke and mica pearl powder with silver holographic glitter. The pink has a heavy mix of pearl powder in it as well.